7 Creative Easter Egg Decorating Ideas to Try
See how you can decorate Easter eggs in beautiful and unique designs with these 7 different methods. These colored eggs are easy for kids and adults alike to create!
Why we love this project
Decorating Easter eggs can be an enjoyable tradition for many – not just children! Over the years we’ve experimented with numerous coloring techniques and now present this list of 7 creative methods of egg decoration!
Have toddlers who’d like to join the fun? Check out our 10 Tips for Decorating Easter Eggs With Toddlers. Additionally, I have provided an invaluable tutorial for how to create Cracked Colored Eggs that is sure to bring joy this springtime!
Place one tablespoon of oil and vinegar into each mug, adding different colors of food coloring as you go. Fill to approximately 3/4 full with water and stir each one – each should come equipped with its own spoon for stirring!
Hold the egg in one hand while using your other hand to stir liquid from a mug with a spoon to create a swirling effect in the liquid in it. Give several quick stirs until a swirl has developed; immediately take off your spoon, place egg onto it, and drop into swirling waters!
Once your count reaches 5 or 6, take an egg from each batch and remove it onto a paper towel without patting dry. Allow each color to rest for several minutes; as they relax they may deepen in color slightly. Repeat these steps a second time or just let each color remain single; again allowing it to sit until dry before gently wiping them off with paper towel when satisfied.
Add 1 teaspoon of white vinegar to each mug, mix in food coloring and fill 3/4 of your mugs with water until 3/4 full. Now it’s time to dye eggs – leave them in longer for deeper colors; take out earlier for pastel shades!
Mix together one teaspoon of brown acrylic craft paint with four or five drops of water in a small container, lay newspapers down on your work surface, and ensure all eggs are completely dry before practicing the flicking method on newspaper before trying it on an egg.
Before starting, get your toothbrush wet and flick off excess water by running your finger along its bristles. Dip the bristles into thinned brown paint. Holding it with bristles facing downward, flick off excess paint by running your finger across its bristles using this method; this will cause paint to drop onto newspaper pages.
As soon as you are confident with the technique, flick paint onto the eggs with your brush. Allow each side to dry before switching over and painting both sides.
Place an egg into an egg cup (or another upright holder), use a spray bottle to mist its top surface, and squeeze some food coloring on top for color contrast.
Place the water bottle on a level surface, and mist its top from a distance.
Add more colors. darui To achieve desired effects, mist or blow on your egg to achieve desired effects.
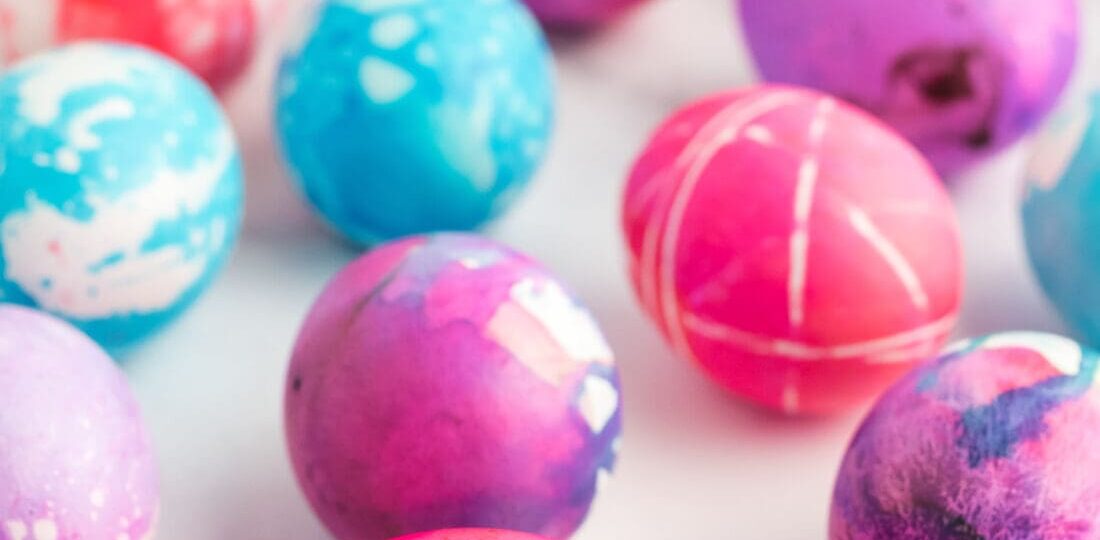
Dye eggs in regular fashion (similar to what was done for speckled eggs, but with any intensity). Let the first color dry completely before taking another approach with another hue. Use rubber bands as needed when doing this step and dye as many eggs as desired in different hues!